
For automatically adding newly signed up users to a certain group, we need to use the Post Confirmation lambda trigger provided by the Cognito Service.
Lambda is an AWS service that offers event driven, serverless computing fucntionality.
I will guide you through each step from creating and implementing a new Lambda function to assigning needed permissions and attaching the Lambda to the Post Confirmation trigger in your user pool.
Important: This guide assumes that you already have a user pool setup and running. If not, you will first have to setup a basic Cognito user pool for this tutorial.
Create an AWS Lambda function
1, Go to the AWS Lambda dashboard and click on "Create Function".
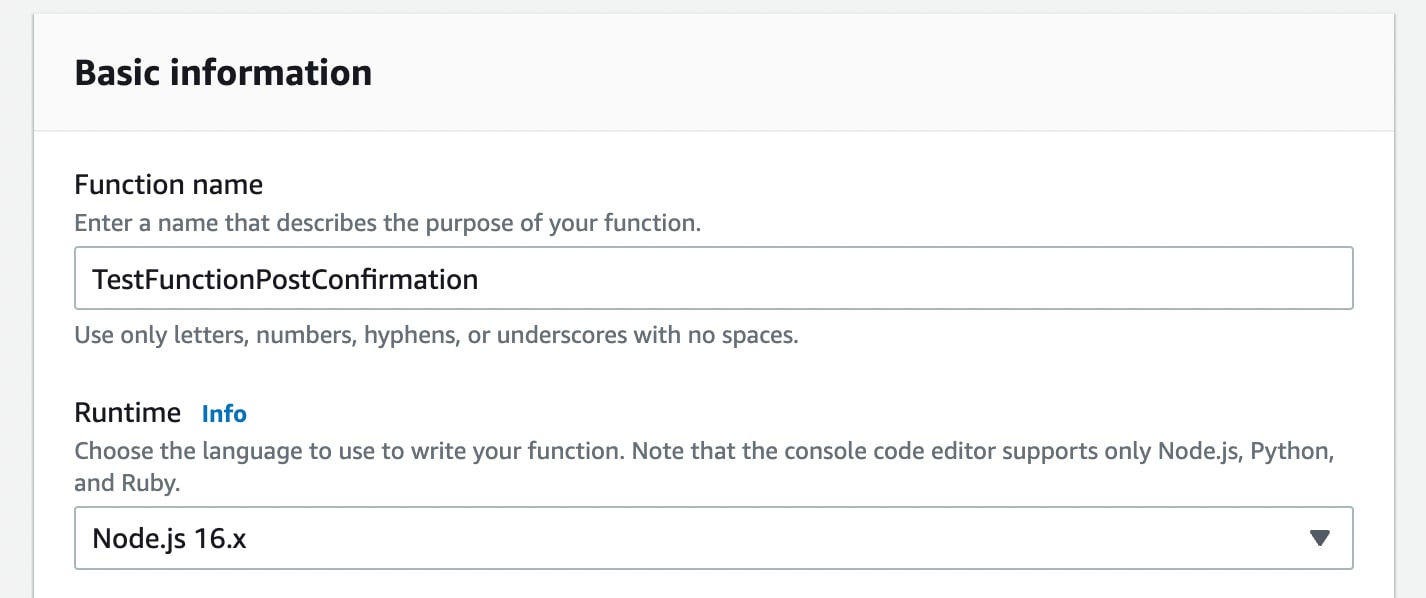
2, The default settings would be set to the "Author from Scratch" option with Runtime as "Node.js xx.x". Leave the settings as it is and just give the function a new name.

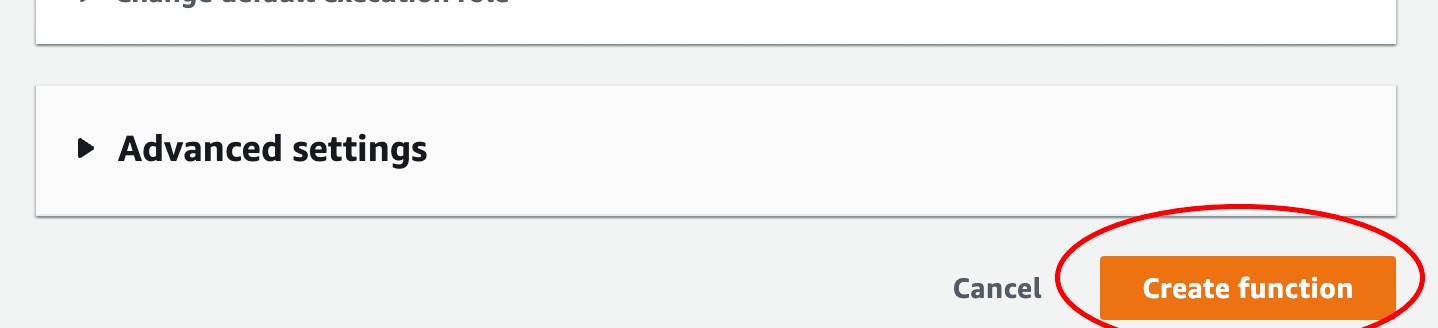
3, Now, hit the "Create function" button.

Implementing the Post Confirmation function
Once the Lambda function is created, you will have access to the "Code" tab inside the function. Here, we will write the function that performs the required actions after a user has been signed up.
The following code will achieve the functionality that we are looking for:
import { Callback, Context, PostConfirmationTriggerEvent } from "aws-lambda";
import AWS from "aws-sdk";

export async function main(event: PostConfirmationTriggerEvent, _context: Context, callback: Callback): Promise<void> {
  const { userPoolId, userName } = event;

  try {
    await addUserToGroup({
      userPoolId,
      username: userName,
      groupName: "Customer",
    });

    return callback(null, event);
  } catch (error) {
    return callback(error, event);
  }
}

export function addUserToGroup({
  userPoolId,
  username,
  groupName,
}: {
  userPoolId: string;
  username: string;
  groupName: string;
}): Promise<{
  $response: AWS.Response<Record<string, string>, AWS.AWSError>;
}> {
  const params = {
    GroupName: groupName,
    UserPoolId: userPoolId,
    Username: username,
  };

  const cognitoIdp = new AWS.CognitoIdentityServiceProvider();
  return cognitoIdp.addUserToGroup(params).promise();
}
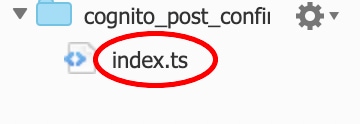
Important: Make sure the index file name is as "index.ts" with the extension ".ts" denoting TypeScript. Otherwise, it will throw the "Parsing error: Unexpected token" message which is caused by the type deefinition of TypeScript in a JavaScript file.

The above function receives the userPoolId and the userName from the signup event after a user is successfully added to the user pool. Then, we utilise the AWS CDK to add the new user to the required group.
The AWS.CognitoIdentityServiceProvider() method provides all the functions that can be performed on the Cognito Identity Service Provider. Here, we specifically use the adminAddUserToGroup(params) method to add the new user to the group of our choice. The adminAddUserToGroup() method takes the following parameters as input to perform the said task of adding the user to a group:
 const params = {
    GroupName: groupName,
    UserPoolId: userPoolId,
    Username: username,
  };
Here, the "GroupName" value is manually given inside the code depending on which group we want the users to be assigned to.
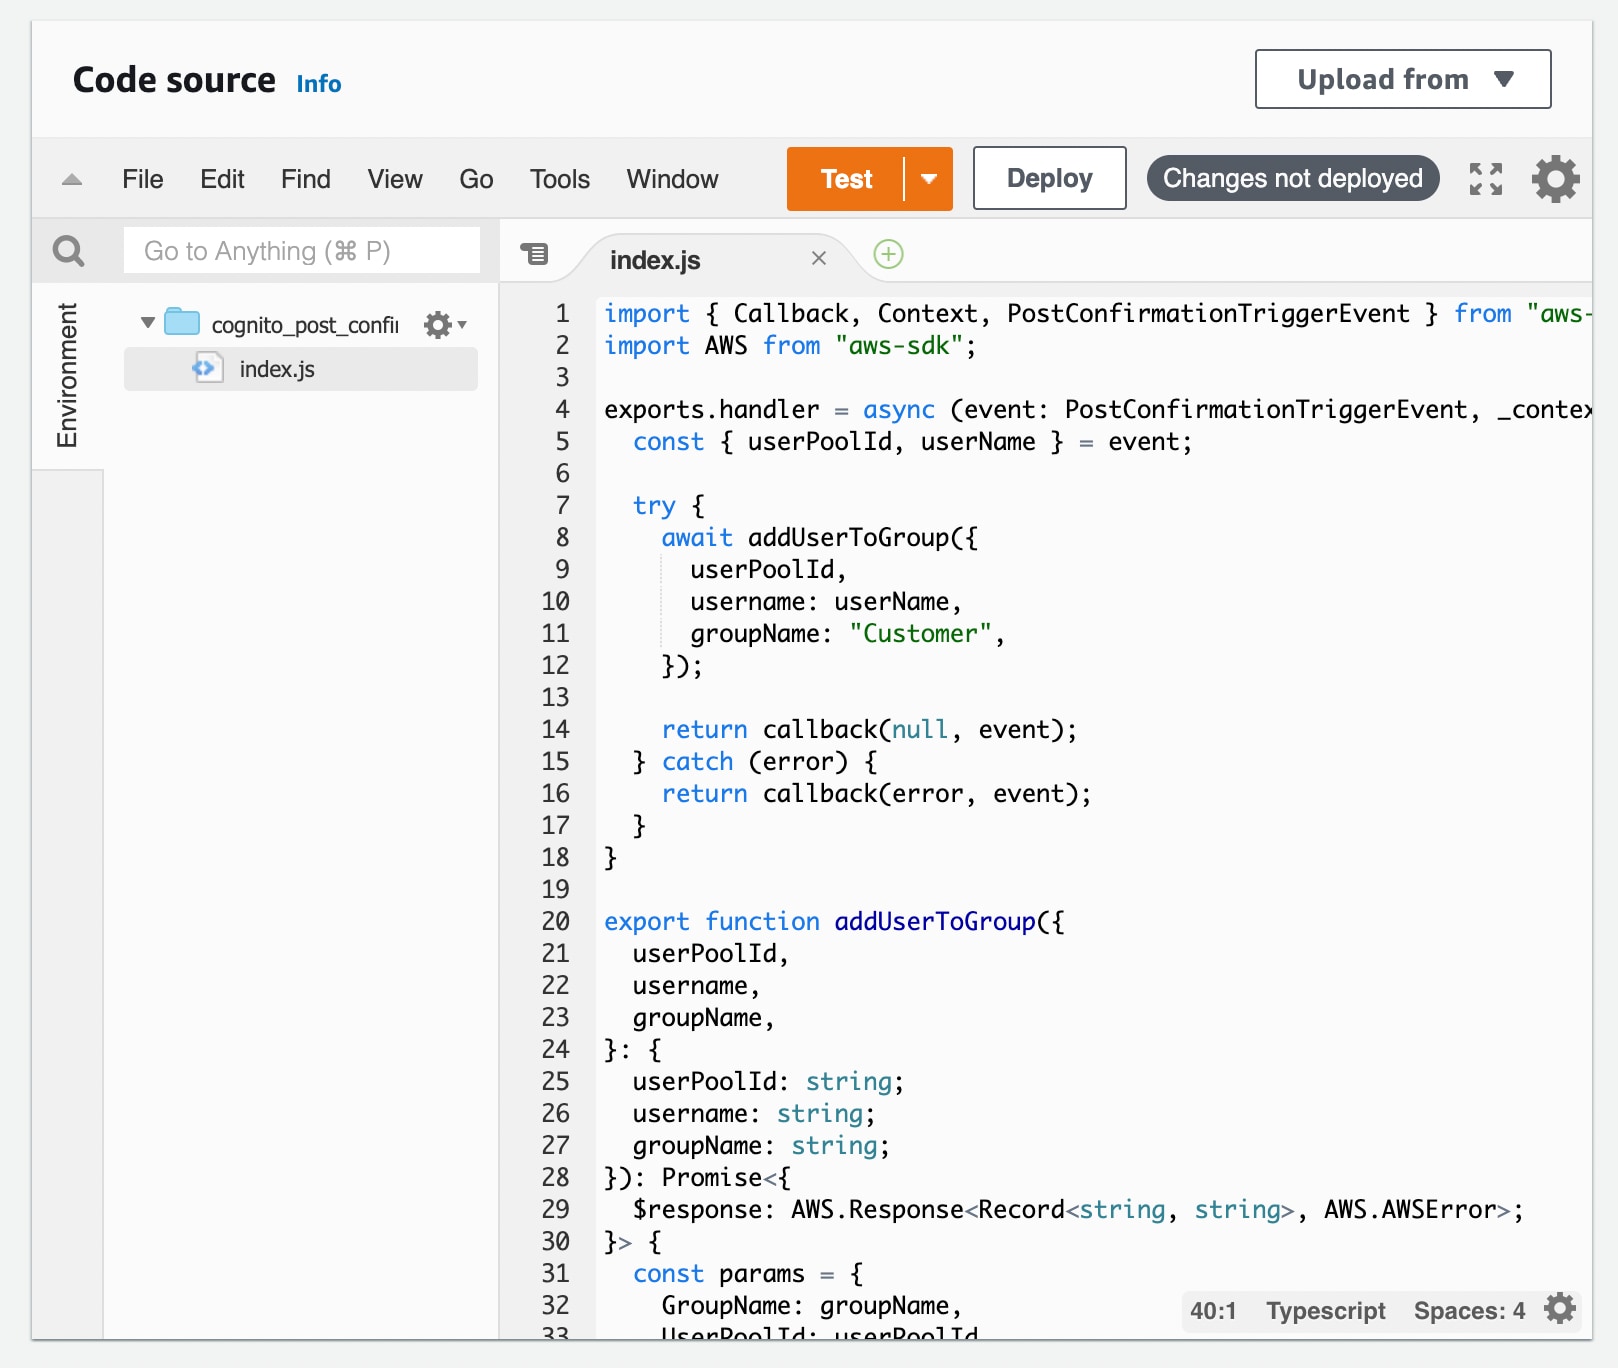
Once you have written he above code to the Lambda function, it should be shown as below:

By default, the lambda function does not have permission to perform any task in the AWS infrastructure. So we need to assign the necessary permission for the function to work.
Assigning permission to the Lambda Function
We invoked the method cognito-idp:AdminAddUserToGroup using the AWS CDK. However, in order for the Lambda function to invoke this method, it needs to be given the required permission in the IAM permission policy associated with it.
Following are the steps involved:
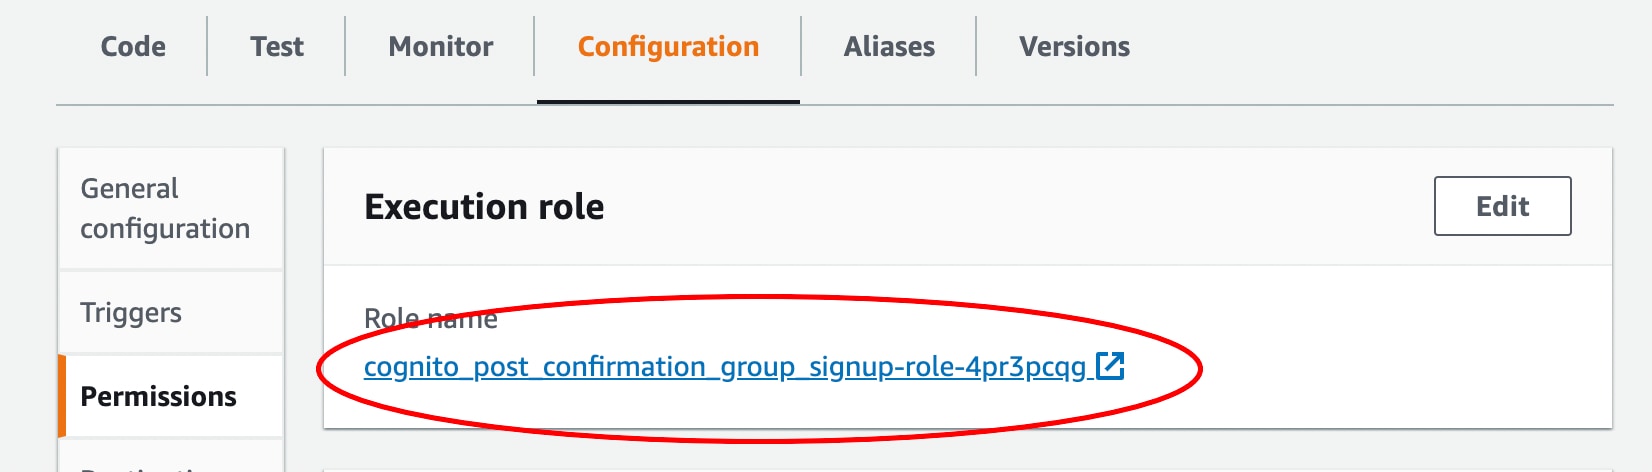
1, Go to the Configuration tab on the Lambda function.

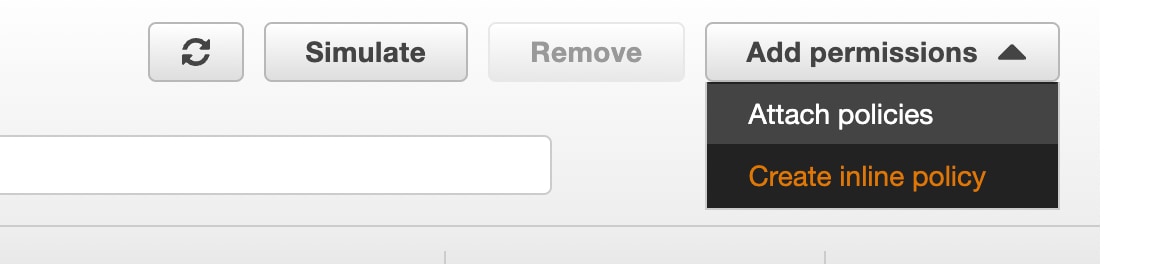
3, We will add the new permission by creating a new inline policy. Go to "Add permission" and click on "Create inline policy".

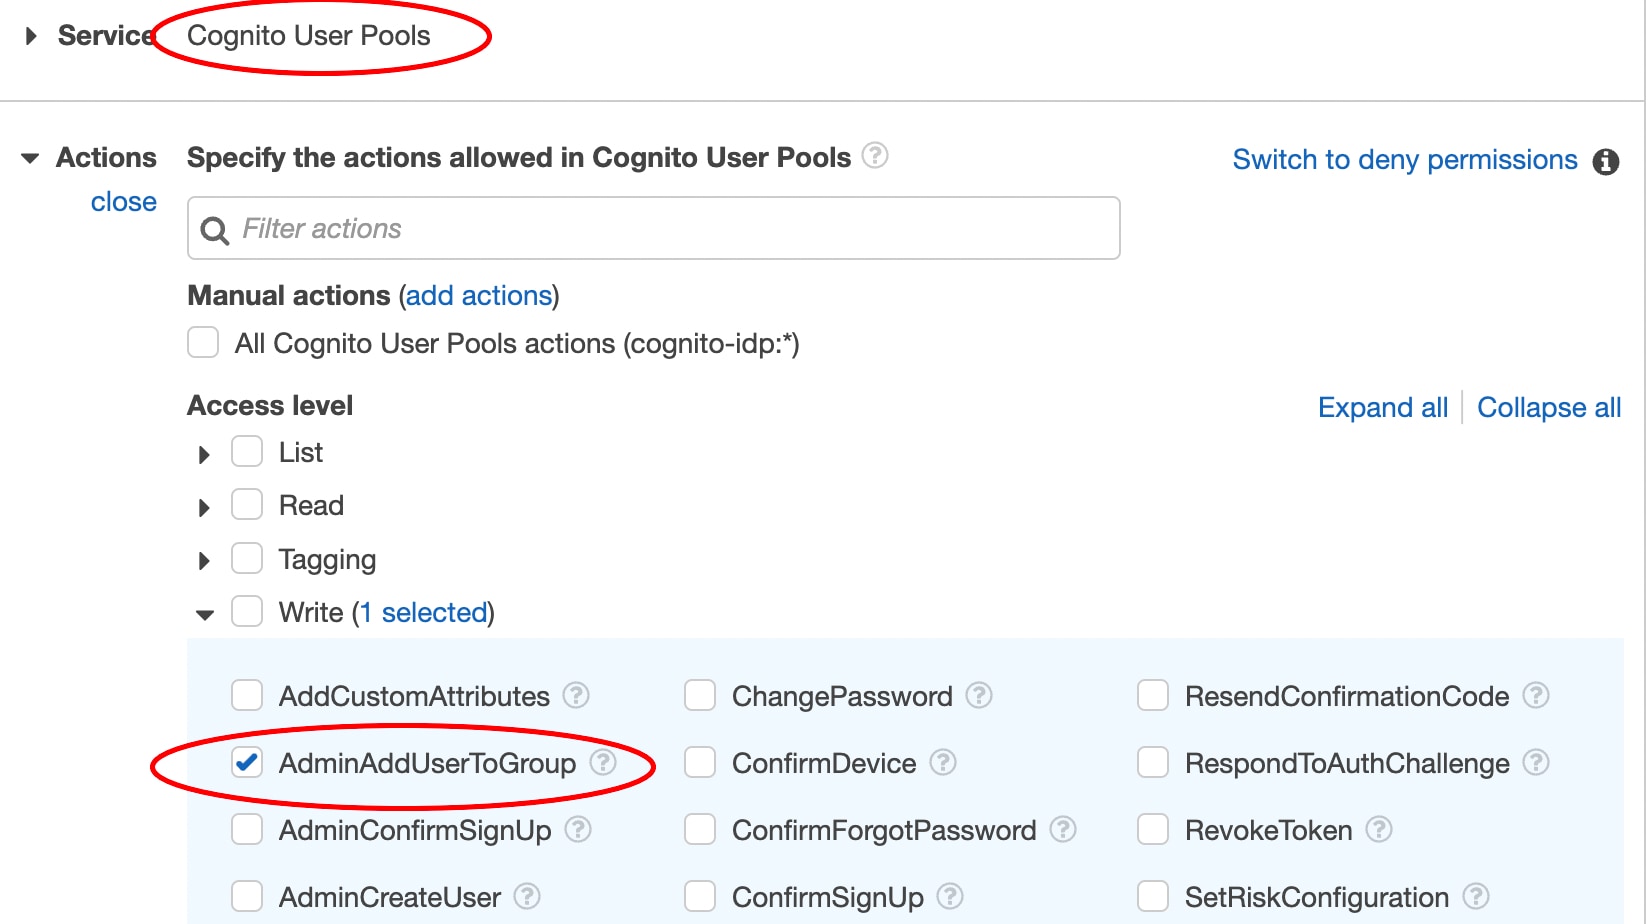
4, We will select the service as "Cognito User Pools". Then, in the Actions panel, click on the drop-down button on the "Write" label and check the "AdminAddUserToGroup" option.

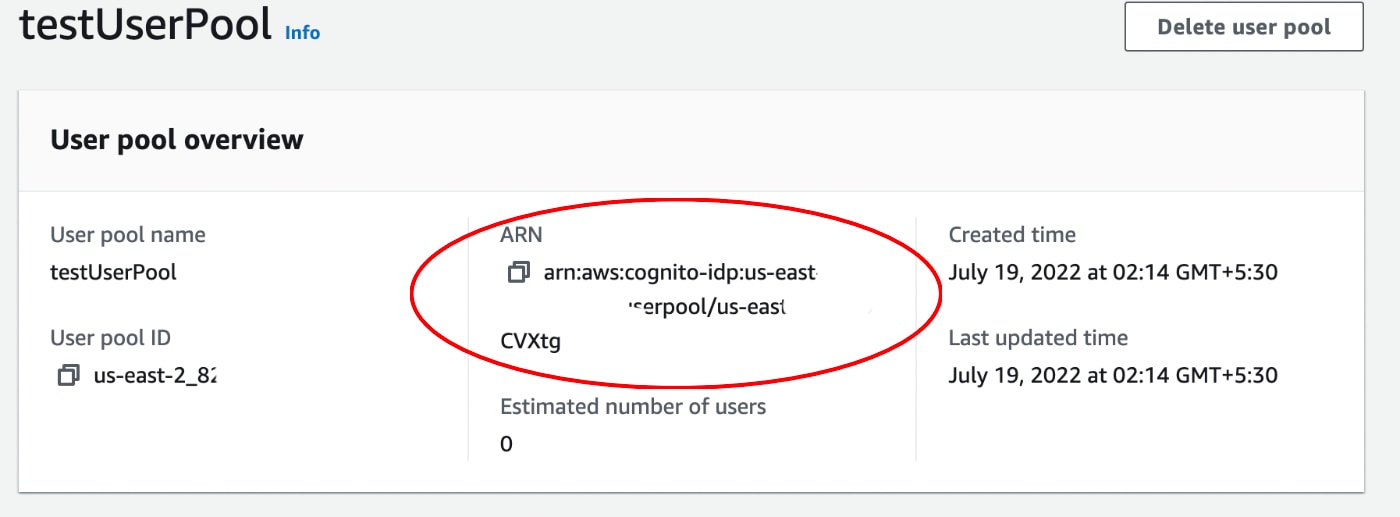
5, In the resources, click on Add ARN to specify the Cognito User Pool we are giving this access permission for.
In order to get the ARN, open the user pool that you want to add the Post Confirmation Lambda Trigger. In the "User pool overview" section, you can find the ARN and copy it.
Once you input the ARN, the Region, Account and User pool id will be autofilled.

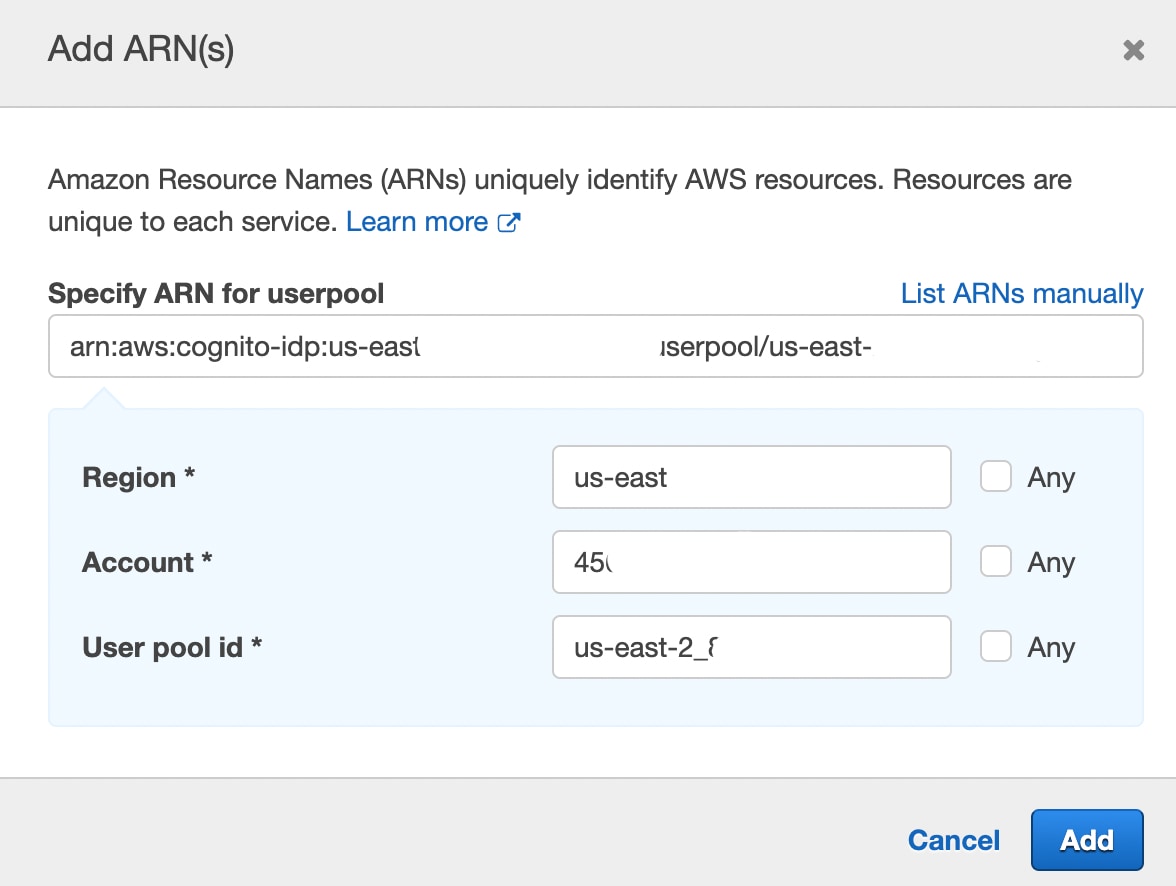
Click onf the "Add" button to submit the selected Resource.

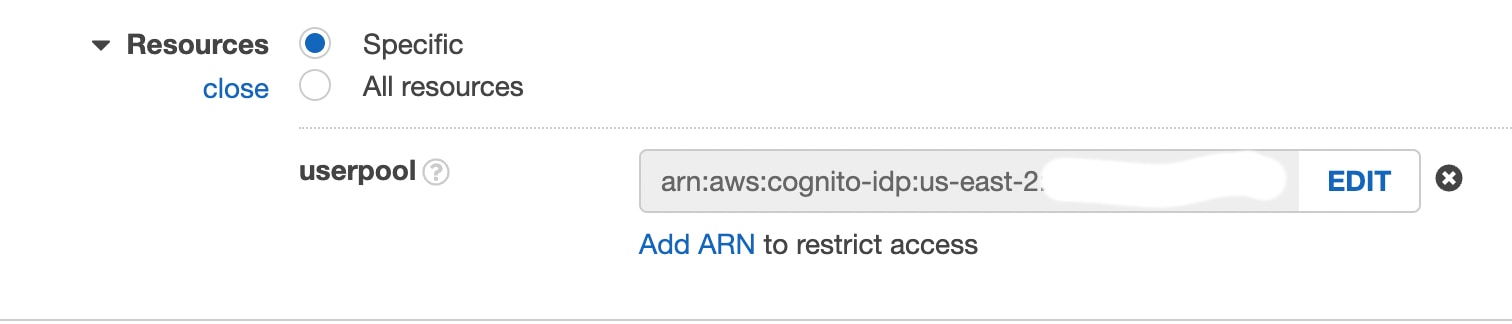
After adding the ARN, click on "Review policy"
6, Give a name for the policy and click on "Create policy"
Assigning the Lambda function to the user pool trigger for Post Confirmation
So far we have implemented the Lambda function and assigned the needed permission to it. Now, we need to attach the function to the user pool:
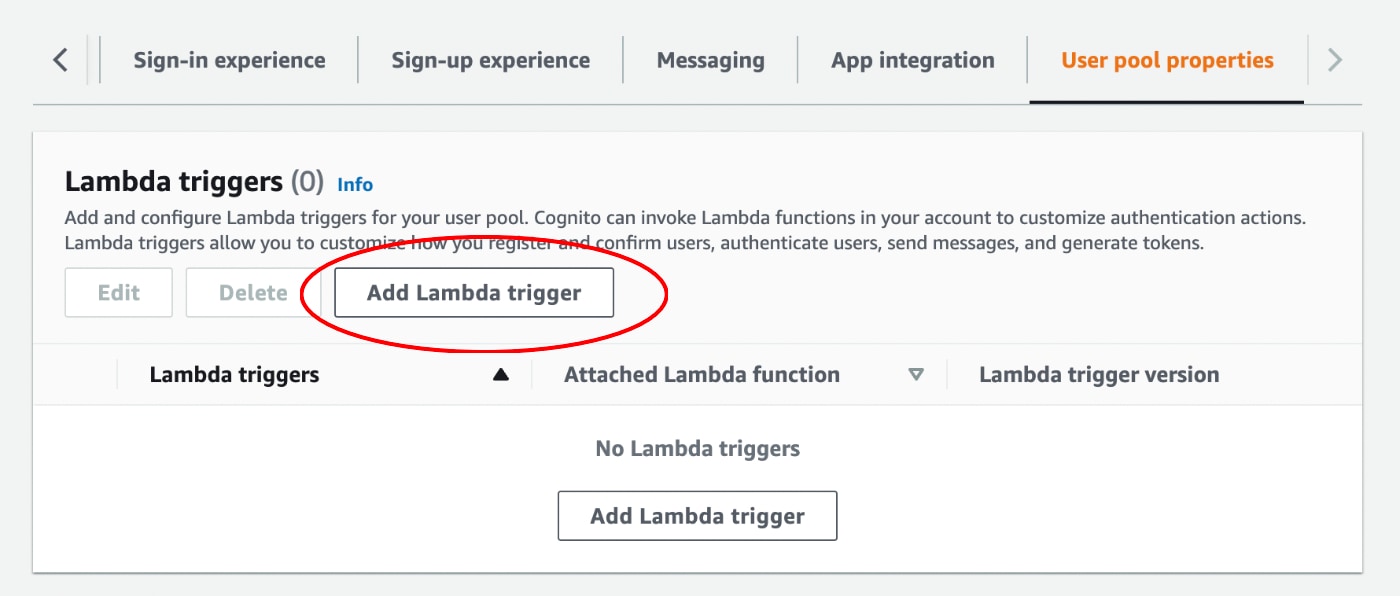
1, Go to the User pool properties tab in the Cognito user pool of your choice. and click on the "Add Lambda trigger"

2, The trigger type should be set as "Sign-up". In the subsequent configuration, chose "Post confirmation trigger". In the Lambda fucntion section, under the "Assign Lambda Function" label, choose the function that we just created.

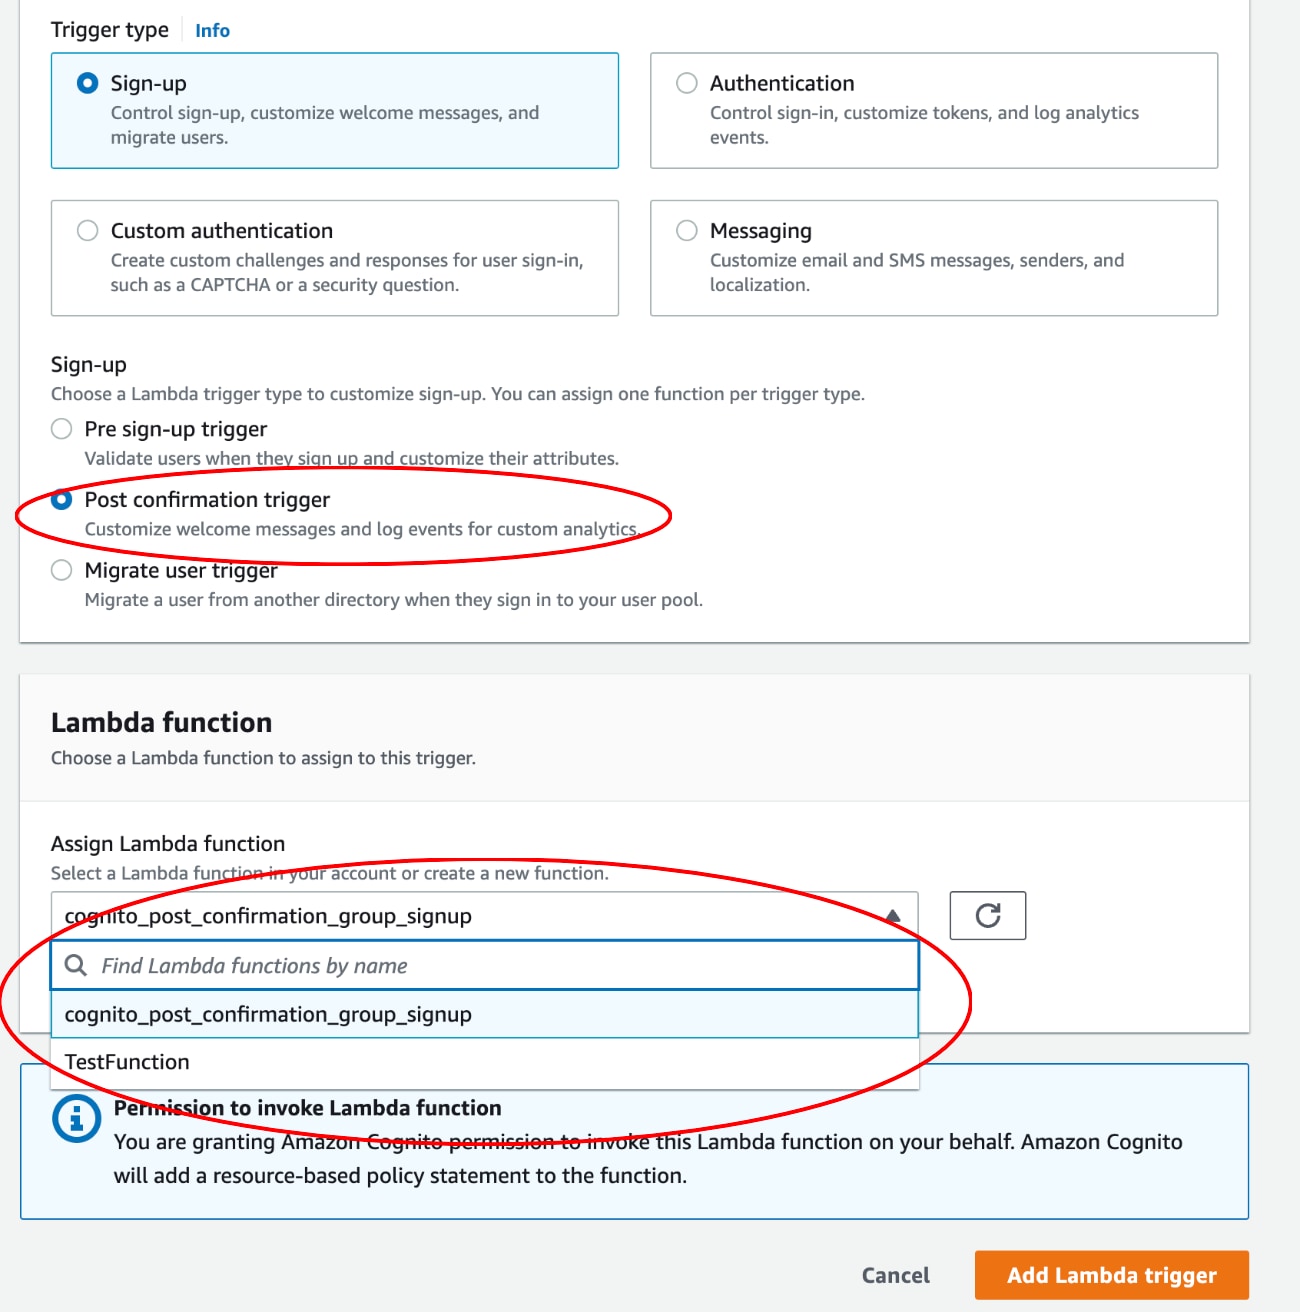
3, Once the above steps are completed, click on "Add Lambda trigger".
And we are done...
Conclusion
We implemented the Lambda function code that was required to add new user signups to the required group. Then we assigned the function with the necessary permission to perform the said task. After setting up the function, we added the Lambda to the user pool trigger event we needed to configure.
If you found this information useful , feel free to checkout my featured and latest articles. See you in the next one.
